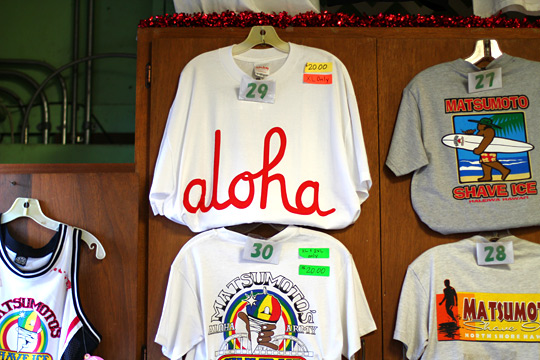
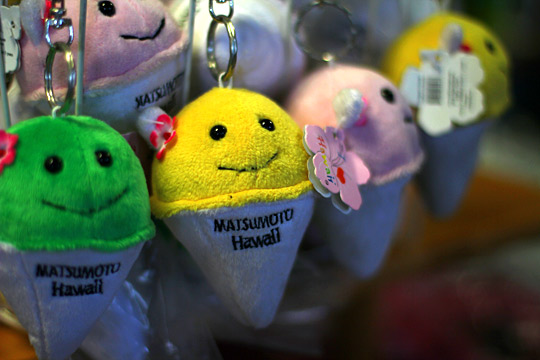
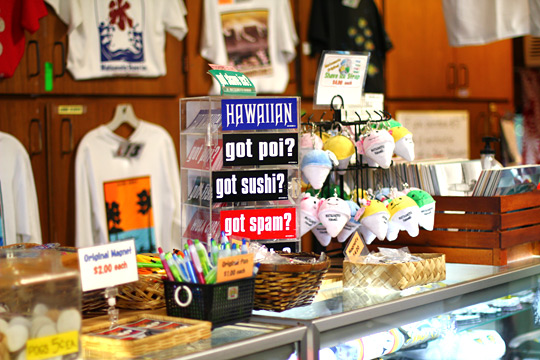
Aloha, young lady. 🙂 You know that last-minute scramble for snacks and nicknacks to bring home at the end of a trip? Well, that describes my day. Since I fly back to the Bay tomorrow, I wanted to tour the 290+ shops and take in the sights at Ala Moana Center, Hawaii’s biggest mall (also the largest open-air shopping center in the U.S.).
If there’s a mall in heaven, I hope it’s like Ala Moana. Red ginger, dwarf palms and bright orchids line the multi-story promenades, which host everything from high-end boutiques like Miu Miu, Chanel and Dior to mainstream shops like The Gap and, here, Hilo Hattie, where you can load up on macadamia nuts, kona coffee and, if you get lucky, that hot surfer dude working behind the register (my friend Cindy ALWAYS asks me to bring one home for her).
What do you think about these Hana Lima Hawaiian Soaps? I spotted them at Hilo Hattie today.
Hana lima, or “Hawaiian made,” is a small line of handmade, cold process vegetable soaps made by a family from Kona on the Big Island.
Soaps manufactured using the cold process last a really long time. In a nutshell, the process involves combining lye (sodium hydroxide), water and fatty acids (which can be made from almost any oil, like olive, coconut, etc.) in a chemical reaction called “saponification.” During saponification the oils and lye become soap; the process usually takes between four weeks and six weeks to complete.
I would have overlooked these, lost amidst the cacophony of tropical tchotchkes in the store, if not for the vintage Hawaiian print packaging. The soaps looked like somebody went wild cutting up a collection of hyper-color aloha shirts!
The 3.5-oz bars are wrapped in bright tropical-print fabrics (they’re actually made of real cloth!) with cute illustrations of plumeria, tuberose and Hawaiian red ginger flowers.
[Continue reading…]


 If you have a rounder face (ain’t you a cutie?), apply a darker contour shade from the horizontal gridline halfway up to the vertical line, and about a third of the way from the lower end of the vertical line to a third of the way to the horizontal, keeping along the border of your face.
  If your face could be described as triangular (a description I hate, but, alas, the makeup world has yet to come up with a better term for it), do the same as you would for a rounder face, except swap in a highlight shade for the area below the horizontal gridline, or forego this step altogether.
 For those with a square or rectangular face (which just means your forehead may be a bit wider and your jaw is a bit more pronounced than someone with an oval face), buff a contour shade midway between the endpoints of the two lines (or the four corners of your face), rounding the edges.
 And if you have an oval face…well, lay down those brushes. An oval shape is generally considered the easiest to apply makeup to, which is why the steps above aim to shape the other types more towards this goal.